Today I'd like to tell you about a fairly substantial--and quite successful--lute repair I did last summer, for Michael Miranda, of Alhambra, California. The patient was a lovely 13 course baroque lute made in 1979 by Nico van der Waals; the case history and diagnosis were a little complicated.
 |
| Photo: Michael Miranda |
 |
| Photo: Michael Miranda |
Michael bought the lute in 2001, and though it was still in pretty good shape, it had obviously been well-used over its lifetime. Then recently, he explained to me, it began to lose sustain and response in the treble range, and seemed as though it was becoming 'played out.' He took it to a local luthier, who put a new belly on it, which worked fine for a time; but after a while the bridge pulled off, destroying the new belly in the process. Michael then took it to another local luthier who put the old (original) belly back in, which also worked fine for a while, until the belly started to lift up and separate from the edge rib along the bass side. Fearing catastrophe, Michael slackened all the strings, and the lute was rendered basically unplayable.
Needless to say, by this point he was feeling a bit frustrated. He first contacted Grant Tomlinson to see if he might repair the lute (if indeed it could be repaired, after all these misadventures), but Grant was busy and unable to take on the work, and so he passed it to me. Grant was convinced that the lute could be fixed, and the best way to do it was to use the old belly--a very stiff, fine grained top, with a beautifully carved rose and an elegant bridge--but install a new set of bars. Much else would need to be done to refurbish and stabilize the belly, as I would find out when I removed it from the body and had a closer look.
 |
| Photo: Michael Miranda |

 |
| Photo: Michael Miranda |
With the old bars gone, I could start the rebuilding process. All along the edge of the belly I planed and scraped a bevel about an inch wide, and you can see in this photo how deep I've gone--nearly to the underside of the ebony half-binding. You can also see--where the belly is chipped away, exposing the ebony--how badly damaged the belly was in this spot.


With the perimeter of the belly chamfered, I could now glue onto it new strong, close-grained belly material. I used off-cuts from bellies of lutes I've recently built, and did the gluing in pieces: one on each side, one across the bottom, and one on the "tongue" of the belly.
And I used just about every 2-inch clamp I had in the shop.


Next up: repair the cracks in the soundboard. In addition to one below the bridge, there were two long cracks extending from the tips of each of the fingerboard points, down almost as far as the large bar above the rose (so, about 3 to 4 inches long). These cracks had been there for a long time, and were quite wide--the belly had apparently shrunk considerably over the years. Because of this, the repair would have to be done in two stages: first stabilize the cracks on the underside of the belly, then fill the cracks themselves from the top side.
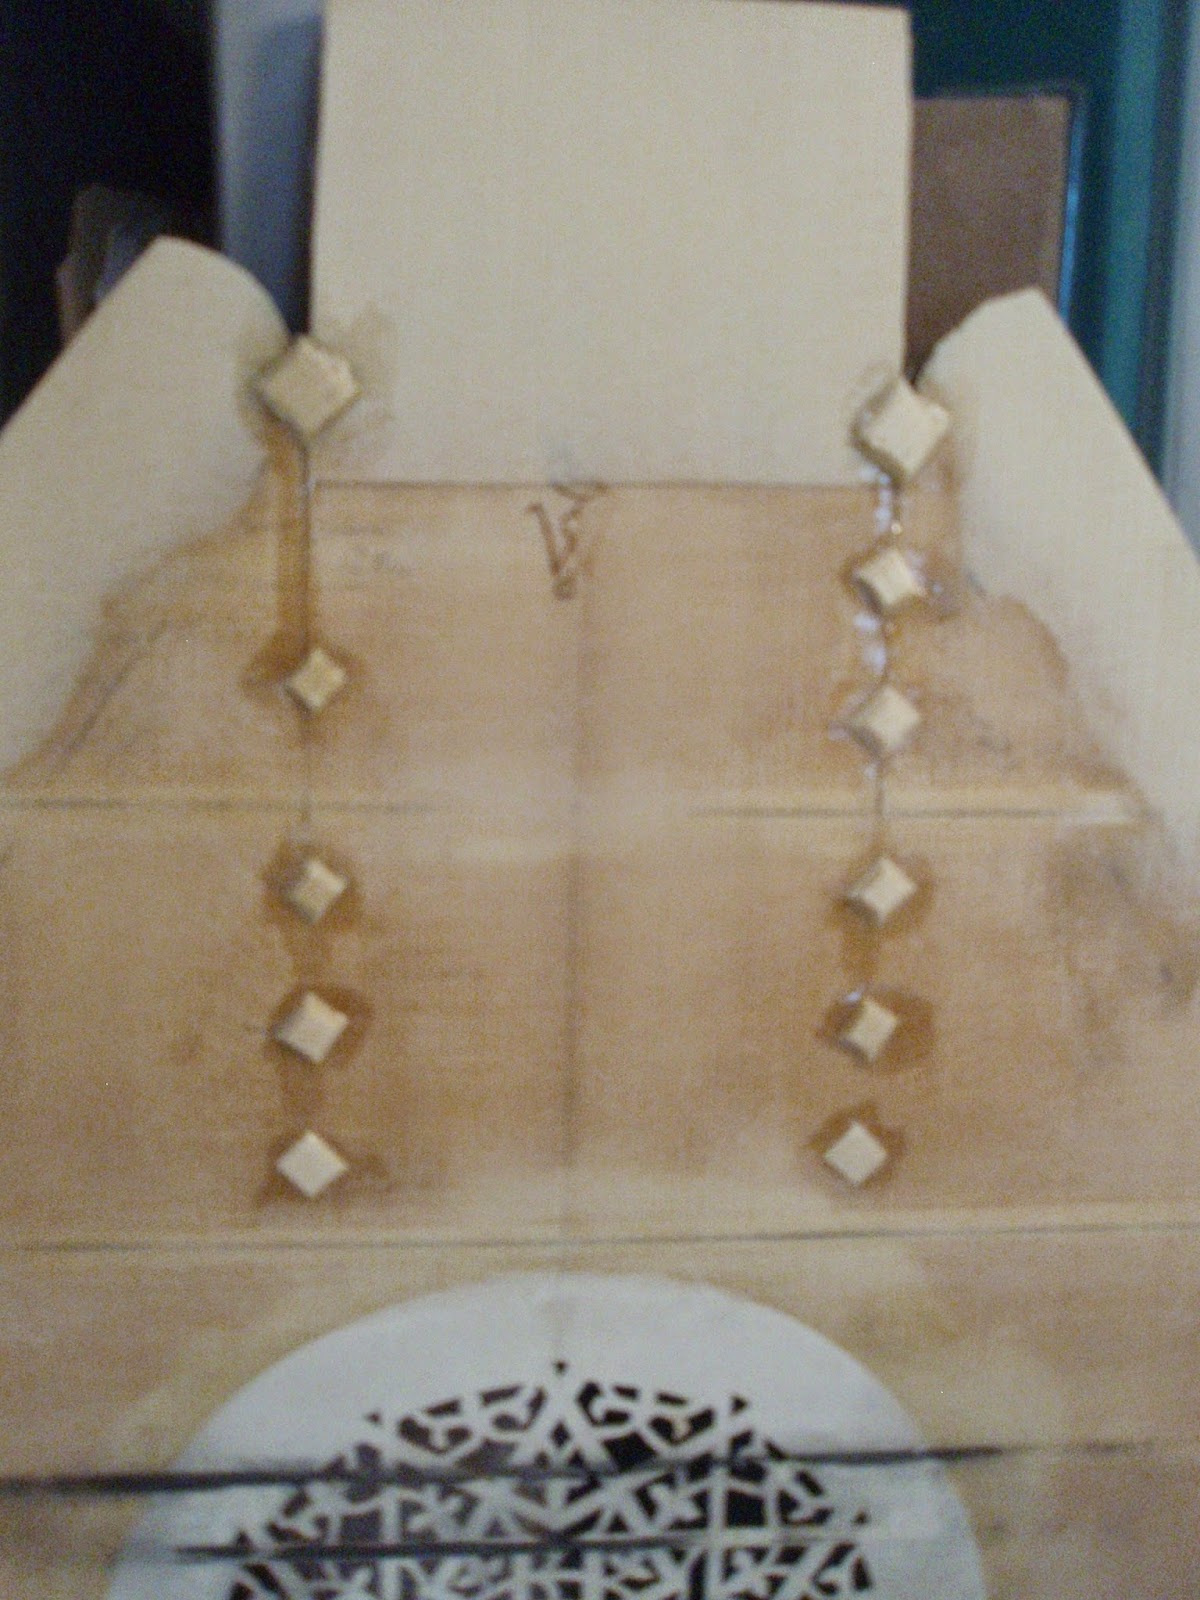
On the top side, I used a sharp knife to actually widen the cracks a little, to make them a more-or-less uniform width along their entire length, and make them into a more deliberately v-shaped channel. That way, I could shape a long, v-shaped patch of soundboard material that would fit closely and fill the entire channel without gaps on either side. I glued the patches into place with hide glue, which is perfect for this kind of repair: since it shrinks as it dries, it has a tendency to actually pull the patch material down into the crack, for an even tighter fit.

The final stage of rebuilding the belly was to create and glue on a new set of bars. The instrument was based on a 13 course lute by J.C. Hoffmann (which, if I hadn't recognized it, was helpfully written on the top block by the maker!), so I consulted some historical belly drawings of lutes by Hoffmann, selected some of my heaviest, stiffest bar material, and shaped a new set of bars and glued them on.
I want to show you a shot of the bars as they're being glued on, in the go-bar deck. You'll notice that the belly is sitting up on a platform; I wouldn't normally use this for gluing on bars, but I did in this case because this belly already has a bridge glued to it, and the platform has a cutout that the bridge fits down into.

Here's a shot of the completed belly, showing the new bars contoured along the tops and trimmed to length, the diamond patches on the cracks, and the new belly material scarf-joined to the outer edges of the belly. This soundboard is now very solid, has a beautiful, ringing tap-tone, and is ready to be glued back into the body of the lute.

One last bit of work was in order: a new set of fingerboard points. With those cracks having been repaired, the belly was now slightly wider in that area than it had been before, and the old points no longer fit. With new points in place, the repair was now complete.


Hi Travis,
It’s a miracle - You’ve brought my lute back to life!! I’ve restrung it, and have slowly brought it up to pitch. The sound is even better than when I first purchased it over 10 years ago. Many, many thanks for your expertise and attention to detail. I look forward to seeing you next summer and will be in touch soon regarding the Vancouver lute fest. All your beers are on me!
take care,
Michael
I just love it when I hear things like this from people I've made or repaired lutes for--it truly makes my day (and I don't just mean the "all your beers are on me" part, though that's nice too.) I really get a kick out of making lutes work, and not just my own lutes, but lutes by other makers. I've worked as the Lute Doctor at the LSA's Vancouver Lute Workshop for the last few years, and I've had occasion to fix a few. Some repairs are large and some are small, but whether I'm simply adjusting the action to make the lute a bit more comfortable to play, or undertaking larger-scale fixes like this one, the process of doing repairs, and seeing the immediate results they can have for players, is very rewarding.
Some lute makers hate doing repairs, and cringe at the very mention. Not me; I like doing them (in moderation), and I don't mind who hears it. If there are repairs to be done, I'll schedule them in between batches of my own lutes that I'm working on, just to give myself a little bit of variety at the bench. You can learn a lot by doing repairs, and one important thing you can learn is to be fearless. If a lute has been built, it can be unbuilt; whatever is broken can be fixed. These are principles that doing lute repairs has taught me, and they're principles that I apply in my own lute making practice, every day in my workshop.